I started by taking dozens of photographs of my still life components which I studied in Picasa.
Then I rearranged the components and took lots more photos from every angle with the lighting coming from different angles. It took a couple of hours, but by the time I chose my cropped reference photo I was confident that I had a good design.
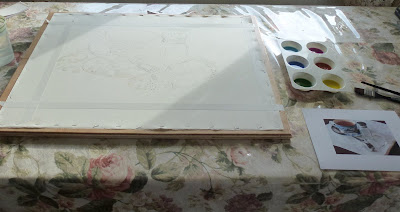
Next I made a detailed drawing on a full sheet of stretched 140# Jack Richeson watercolor paper. I taped off the edges to define the picture size and proportions and to leave a clean edge for the framer.
I reserved the whites and lightest lights with resist and while that was drying, I mixed large reservoirs of the initial washes in my white plastic muffin pans.


I got the whole paper
very wet and waited for the sheen to disappear before sloshing on the wet in wet washes with a 1" flat brush. Such fun!
Sadly, even though I had stretched the paper, it buckled quite a lot and the horizontal swales made a couple of color mixing decisions for me, but the effect wasn't too bad so I just went along with the paper's plan.
After the initial wash was dry I used more resist to reserve some areas of the light washes especially in the fabric and glass of the salt shakers.

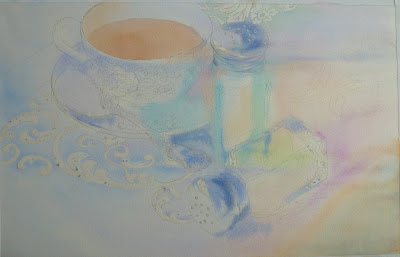
After those washes were thoroughly dry I wet the entire paper again with clear water and began dropping in mid value washes.
To key the painting (set the darkest and lightest values) I added a very dark area in the foreground.
Here is the painting just before I removed all the layers of resist.
This was a good time to walk away from the painting so I could see it with 'fresh eyes' in the morning.

The next morning I realized there was too much contrast in the fabric so I toned it down with very light neutral washes. Then, to add contrast in the center of interest, I darkened some of the dark areas and used my magic eraser to reclaim a few of the white sparkles.
The more I paint, the more confident I am and the more fun the project is...go figure!
About a week later, I decided to add the dark wood of the table to anchor the fabric in place so the objects didn't appear to just be floating in space. I 'calmed down' the eye catching designs in the fabric even more by once again painting large neutralizing washes (e.g., pale orange over blue). The fabric is fun, but it was not intended to be the major player in this painting; and since it kept catching my attention more than my chosen center of interest (the spoon) I knew it needed to be softened and 'pushed back'. Finally I realized that the fabric looked too flat so I again got the entire fabric area wet with clear water and added very soft fold shadows especially in the foreground.
I had received some good criticism from a friend who noticed that the ellipses in the teacup were 'off'...
I was able to correct both the cup and the liquid in the cup (liquid always needs to appear level) by lifting paint in some areas and adding paint in other areas.
Note to self : check the symmetry of shapes before painting!
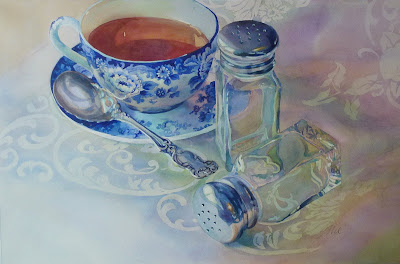
So here's the finished piece at last; click on the image and you will see a larger version of it. My sister Chris has 'dibs' on this painting, but I will have prints and cards available at my open studio this summer July 19-21. And I will paint many more evocative pieces this winter, so stay tuned! Catherine
I have a few more openings in my Introduction to Watercolor class that will start on Tuesday February 12th at 1 pm here at the Cutting Garden in Sequim, WA so if you are interested, please email me at catherine@cuttinggarden.com and I'll send you the materials list and the particulars.
Please leave a comment!
Grandma's Sugar Spoon
24" x 15.5"
original watercolor by
Catherine Mix


